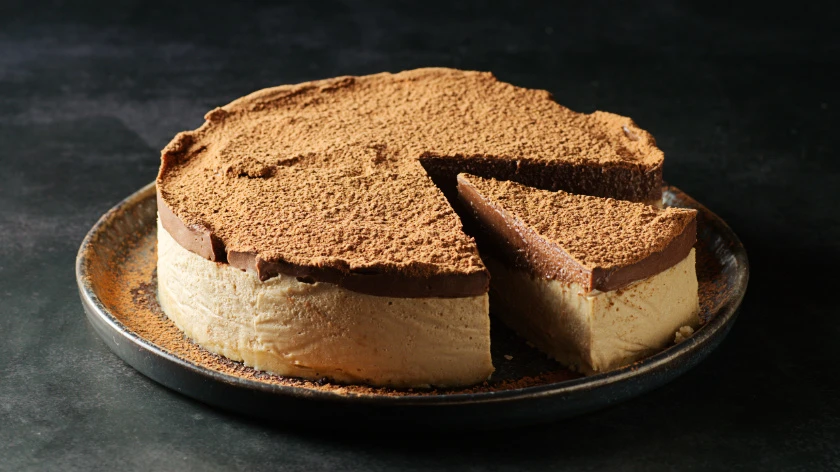
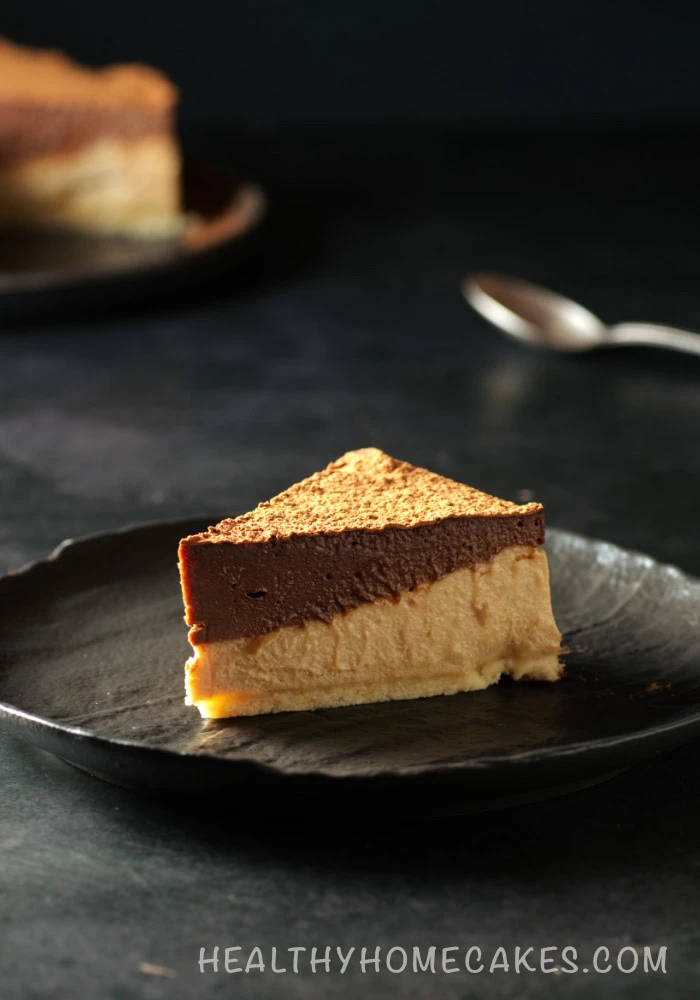
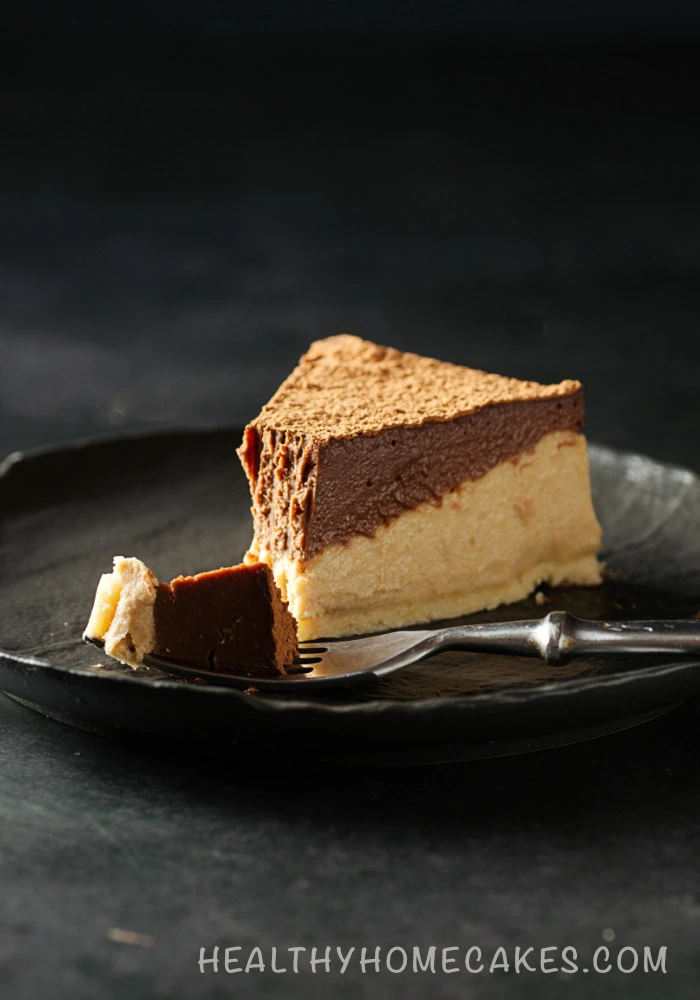
This vegan, gluten-free dessert requires no baking. This delicious cheesecake has an almond crust and two layers of coffee and chocolate filling. I really like to drink a cup of delicious coffee in the morning. And today I decided to add my favorite drink to dessert. I liked the result of this experiment. The combination of coffee and cocoa is delicious. True, there were some unexpected nuances in the preparation. But I dealt with them.
Vegan Cheesecake Ingredients
The basic ingredients for the No Bake Chocolate Mocha Cheesecake are the same ones I’ve used in other recipes.
Crust
The crust contains almond flour and refined coconut oil. I also wanted to add cocoa but then changed my mind. Sometimes I make a more complex crust with oats, almonds and dates. This crust is in the chocolate cheesecake recipe. If you want the crust to not stand out too much from the filling, use almonds and butter.
Filling
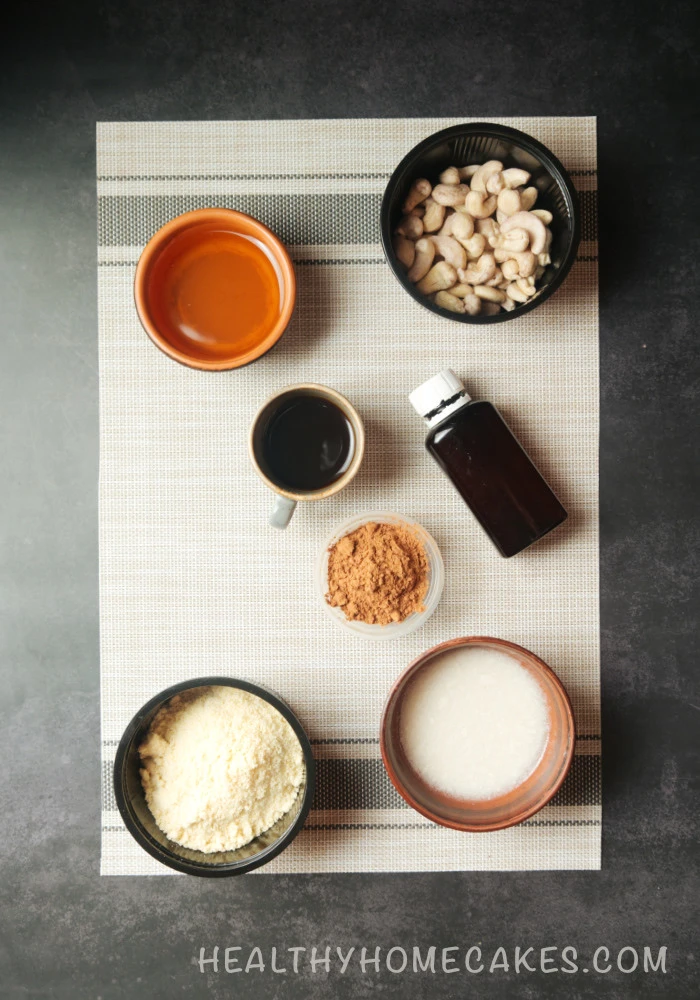
To make the filling we will need soaked cashews, coconut milk, coconut oil, coconut sugar, vanilla extract, cacao powder and a small cup of coffee.
Soak cashews for 8 hours or overnight. Coconut sugar can be replaced with maple or coconut syrup. My cheesecake wasn’t very sweet. Taste for sweetness while cooking. If necessary add a little sugar.
And now let’s talk about coffee. I used strong coffee like espresso from freshly ground beans. I made coffee in a regular household coffee maker. In principle, the process of preparing coffee does not matter. The main thing is that the coffee is tasty.
To prepare the cheesecake, you will also need a 16 cm round pan and parchment paper.
How to make Chocolate Mocha Cheesecake
First you need to prepare the form. Place parchment on the sides of the pan. And then we start making the cheesecake.
Cheesecake Crust
In a bowl, combine almond flour and refined coconut oil. The crust should look like crumbs. Next, place the crust in the pan and spread evenly. Using a silicone spatula, press the crust to the bottom of the pan to compact it. Then put the crust in the freezer for 15 minutes. When the crust has hardened, start filling.
Preparing the filling Mocha Cheesecake
The cheesecake filling has two layers: coffee and chocolate. Let’s prepare the coffee layer first. And for this you will need a blender. So. Place soaked cashews, coconut oil, coconut milk, vanilla extract, coconut sugar and prepared coffee into a blender bowl. Grind everything until smooth.
Next, pour the coffee layer into the pan over the crust. Place the pan in the freezer for 2 hours until the filling hardens. Usually 1 hour is enough for hardening. Today this was not enough. And I laid the chocolate layer on top of the coffee layer that had not yet hardened. Therefore, the layers in the cheesecake were not equal.
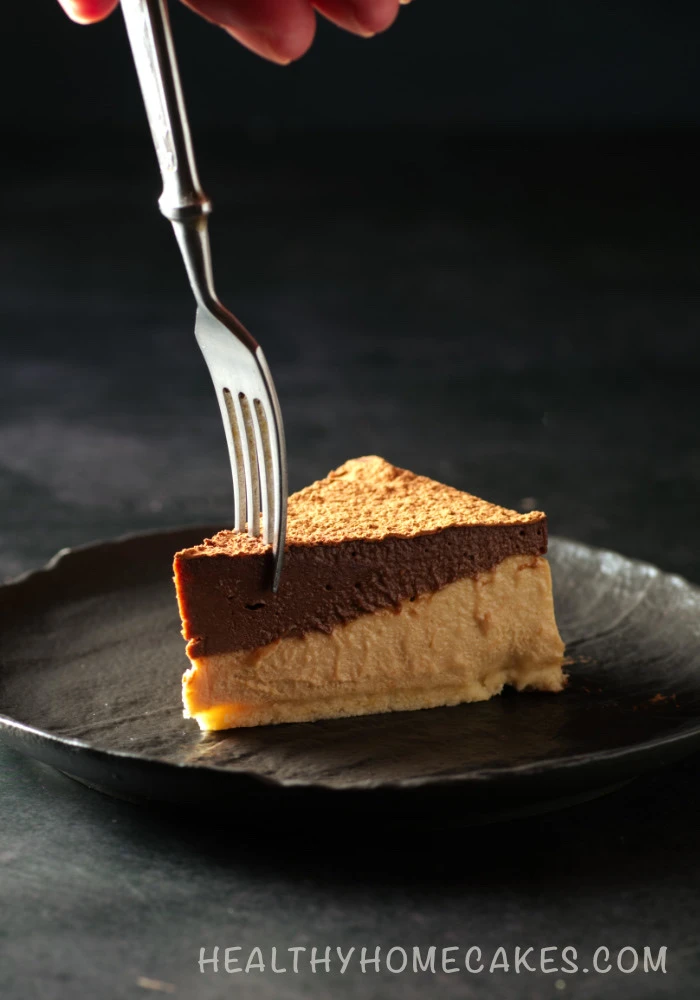
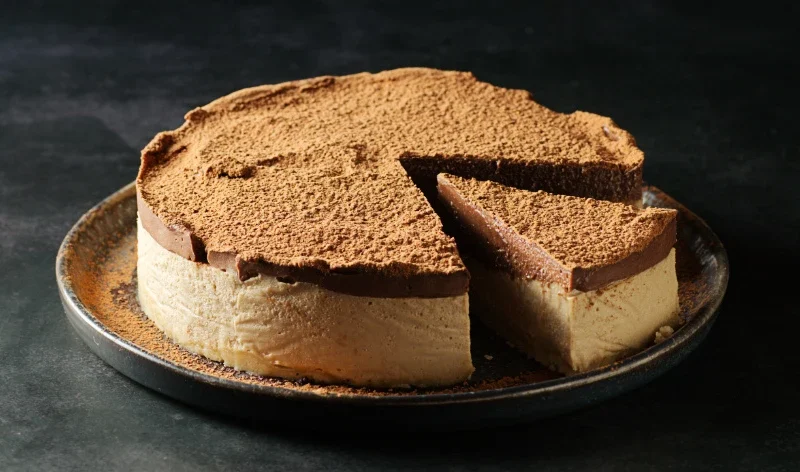
When the coffee layer has hardened, prepare the chocolate layer. Using a blender, puree all ingredients for the chocolate layer until smooth. Then pour the chocolate filling into the pan and smooth it out. The mass turned out to be thicker and it was not possible to even it out smoothly. But it is not important. Then we will hide all the unevenness with cacao powder. Place the cheesecake pan in the freezer for 4 hours.
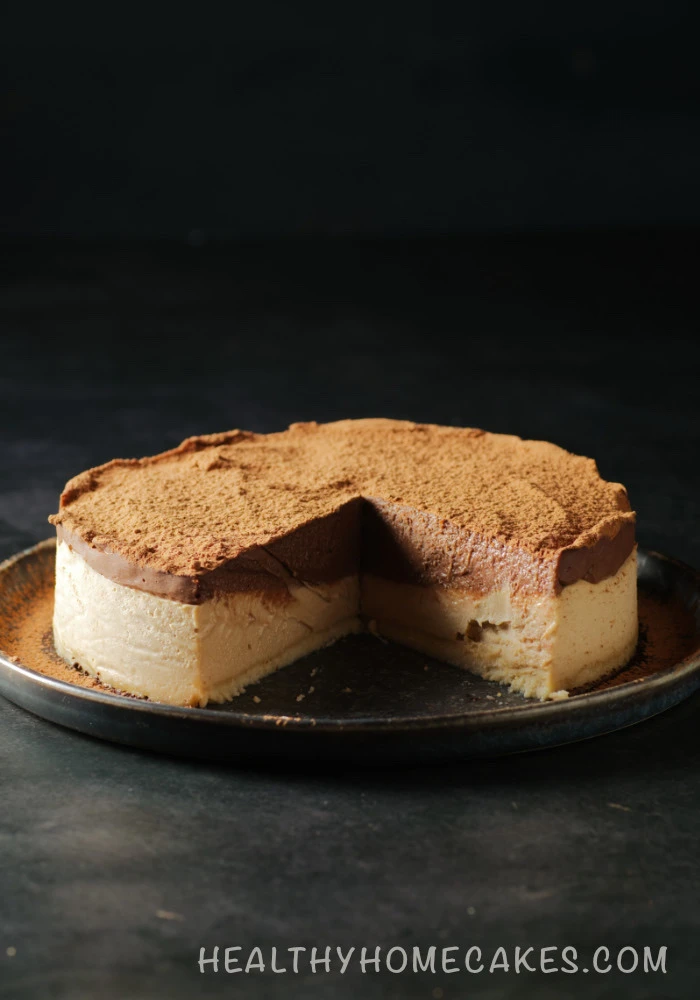
When the cheesecake has set, remove the dessert from the pan and sprinkle cocoa powder on top. do this using a sieve so that there are no lumps. Next, cut the cheesecake into portions. Before slicing, heat the knife in warm water and wipe dry with a towel. Then the cuts will be even.
Store the dessert in a tightly closed container in the refrigerator for 3 days. For longer storage, place the cheesecake in the freezer.
Make Chocolate Mocha Cheesecake and write your comments. I’m interested in your opinion. Share the recipe with your friends. In the recipe card you will find a video of making cheesecake.
Enjoy!
Be healthy and love yourself!
Chocolate Mocha Cheesecake No Bake (Vegan | Gluten-Free)
Course: Gluten free, Vegan8
servings20
minutes5
hours20
minutes495
kcalIngredients
- Crust
1 cup (100g / 3.6oz) almond flour
2 tablespoon refined coconut oil, melted
- Filling
- Coffee layer
1 cup (150g / 5.3oz) cashews, soaked
8 tablespoons (80g / 2.8oz) refined coconut oil, melted
8 tablespoons (80g / 2.8oz) coconut milk
5 tablespoons (50g / 1.8oz) strong coffee
3 tablespoons (45g / 1.6oz) coconut sugar
1 teaspoon vanilla extract
- Chocolate layer
1/2 cup (75g / 2.6oz) cashews, soaked
5 tablespoons (50g / 1.8oz) refined coconut oil, melted
8 tablespoons (80g / 2.8oz) coconut milk
2 tablespoons (30g / 1.1oz) coconut sugar
tablespoons (30g / 1.1oz) cacao powder
1 teaspoon vanilla extract
Instructions
- Crust
- Mix almond flour and refined coconut oil. Pour the mixture into the pan and press down firmly with a silicone spatula. Place the crust in the freezer for 15 minutes.
- Filling
- Coffee layer
- In a blender, puree the soaked cashews, coconut oil, coconut milk, vanilla extract, coconut sugar and prepared coffee.
- Pour the coffee layer into the pan over the crust. Place the pan in the freezer for 2 hours until hardened.
- Chocolate layer
- Place soaked cashews, coconut oil, coconut milk, vanilla extract, coconut sugar and cacao powder in a blender jar.
- Pour the chocolate layer over the coffee layer. Place the cheesecake in the freezer for 4 hours.
- Remove the cheesecake from the pan and sprinkle cacao powder on top and cut into portions. Before slicing, warm the knife in warm water and wipe dry.
Recipe Video
Notes
- Cup 250 ml, tablespoon 10 ml, 1 teaspoon 5 ml.
- Form 16 cm / 6 inch and parchment paper.
- Soak cashew nuts for 8 hours or overnight before cooking. Change the water periodically.
- Store Chocolate Mocha Cheesecake in a tightly sealed container in the refrigerator for up to 3 days. For longer storage, put the dessert in the freezer.